Can you define the 7 main kinds of nonverbal communication? More importantly, do you have a plan and strategy for TEACHING the 7 different kinds of nonverbal communication? If your answer falls somewhere between “Haha, nope.” and “Probably, but it would be a hot mess”, keep reading. In this post, let’s have a chat about how to teach nonverbal communication using strategy and intention.
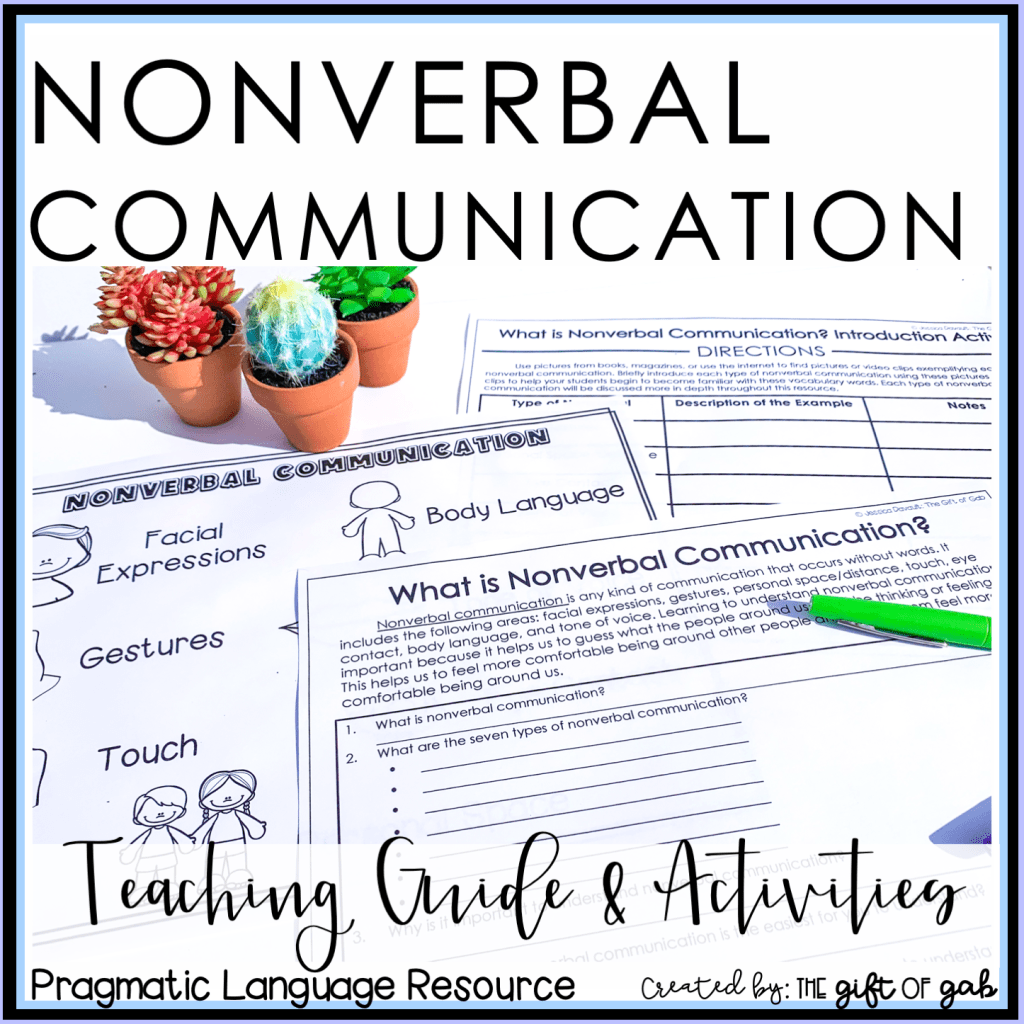
First, let me begin by defining those 7 main areas of nonverbal communication. These are the areas we traditionally think of we when we evaluate and teach those elusive nonverbal skills.

Now that we’ve refreshed our memory on what nonverbal communication is, let’s talk about how to teach nonverbal communication, strategically.
I always start teaching any new skill, by making sure my students understand what they will be learning. So, if I was teaching nonverbal communication, I would start by introducing what nonverbal communication is. Then, I would dive deep into defining, explaining, and practicing those 7 main areas I listed above. Let me share a few simple activities to take you from introducing nonverbal communication to integrating it into everyday life.
Activities for Introducing Nonverbal Communication:
FIRST define what nonverbal communication IS. Explain the 7 areas, but don’t dive in too deep just yet. I usually do this with a simple reading passage and check for understanding quiz.

I like creating reading passages because it gives me a chance to think out the best way to phrase things in a simple and straight forward manner so it makes sense to my students. It is also a good way to practice reading skills and reinforce things being worked on in the classroom.
After your students understand nonverbal communication, have a little bit of fun. Find pictures or videos (the Disney-Pixar “shorts” are great for this) and work with your students to find, identify, and describe each kind of nonverbal communication.
Activities for Teaching Facial Expressions:
Draw it out! There are 6 primary facial expressions that are the root of all other facial expressions. They are happy, sad, anger, fear, disgust and surprise. Each facial expression has its own very distinct characteristic, so explain those characteristics to your students, then practice drawing them!
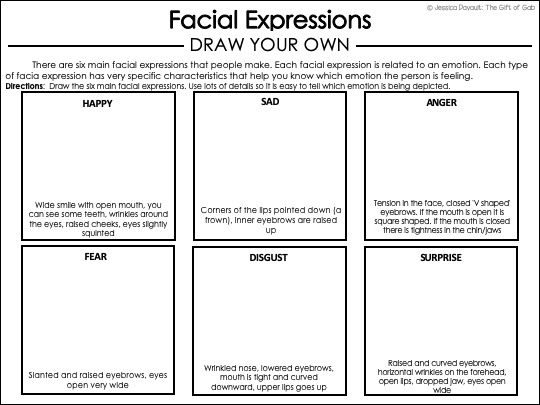
Individuals with Autism tend to focus mostly on the lower 1/3 of the face when they are trying to identify facial expressions, so make sure you are explaining the importance of looking at all sections of the face, so they can get the complete picture and correctly define the emotion.
Activities for Teaching Gestures:
First, be sure your student understands what a gesture is (again, I use a short reading passage to teach this skill). Then, create a list of several different gestures your student might encounter throughout daily life. Practice defining the gestures and making them together.
This can easily be turned into a game where one person draws a card that has a gesture written on it, and the other person has to name the gesture and define what it means. You could also do a memory style game where students match an image of a gesture to the definition.
Activities for Teaching Touch:
Before you begin, make sure that YOU know the different levels of touch and the definition of each one.
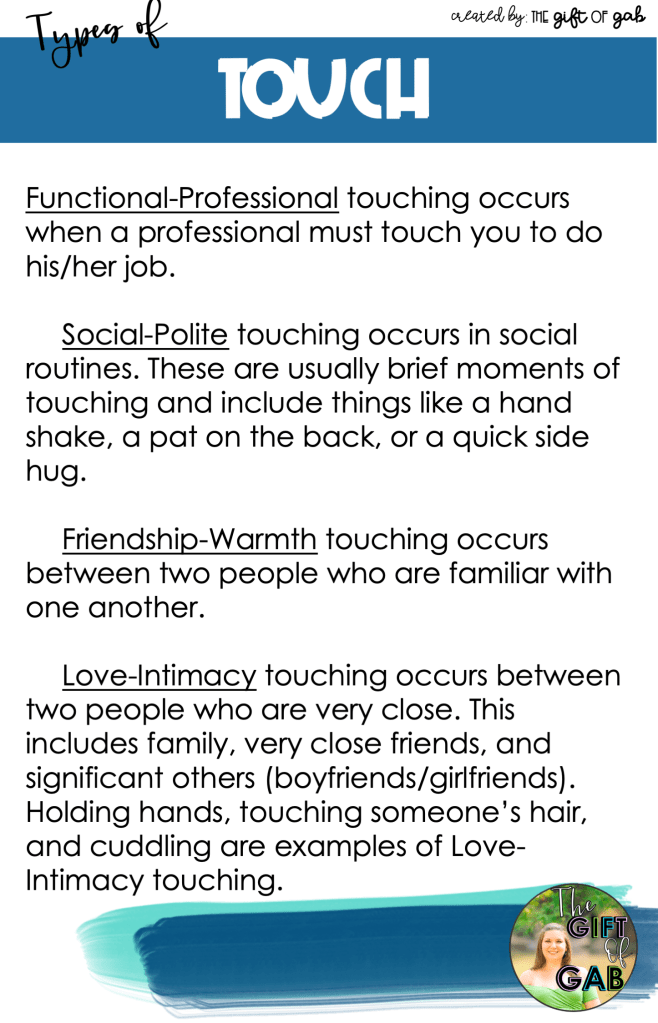
Then, introduce these to your students (again, in my speech room we would start with a short reading passage…see a pattern emerging?) Once your students understand each kind of touch, give them sample scenarios and have them sort the type of touch that you would expect to be used in each scenario.
Activities for Teaching Proxemics (Personal Space):
Before you begin, make sure that YOU know the different levels of personal space and the definition of each one. Then, introduce them to your students. A fun way to help them visualize this skill, is to grab some masking tape or blue painters’ tape and draw this image on the floor.
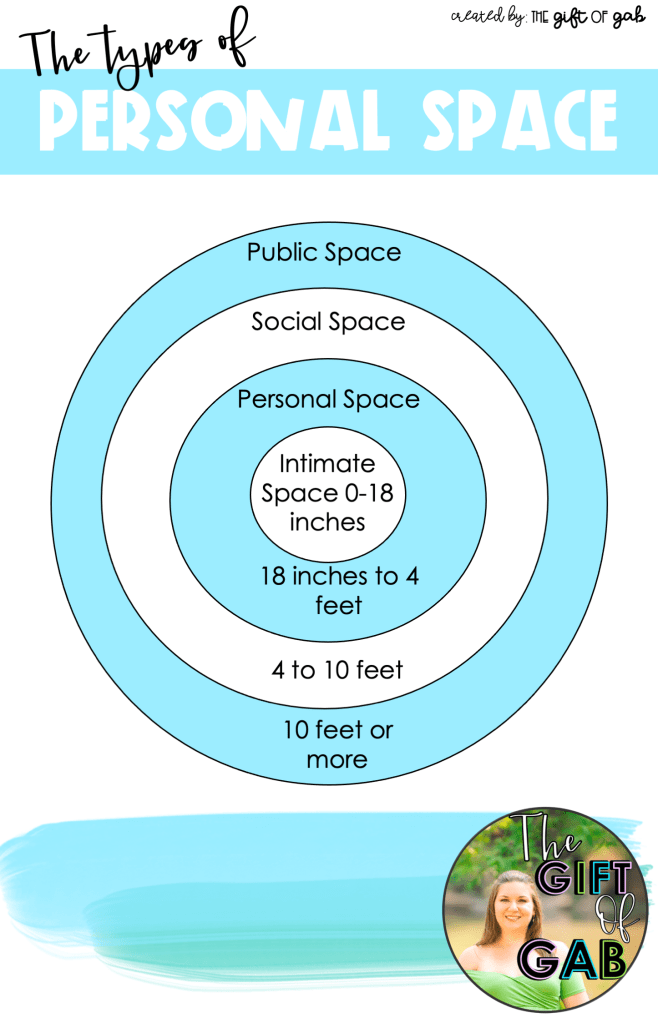
Then, discuss situations and scenarios in which a specific level of touch would be appropriate. You could make this a movement activity by reading a scenario, and having the student answer by standing within the correct layer of the ring. This gives a great example for your students visualize and feel.
Activities for Teaching Whole-Body Language:
Once again, introduce the topic. Explain what whole body language is. To me, whole body language includes things like having an open or closed posture, leaning in or out, and tilting of the head. Then, practice identifying and doing the skill. To practice this skill, you could pull out the old video clip trick again. As you go through different video clips, help your student identify and define the types of whole-body language.
Activities for Teaching Vocalics (Tone of Voice):
As usual, grab your reading passage and start by defining “tone of voice” to your students. Once they understand what tone of voice is, and why it is important, move to this fun little activity.
Give your student a context, facial expression, and word. The student then has to use their tone of voice to portray the emotion that is occurring in response to the event. I like to use the SAME WORD to really highlight the changing occurs in the TONE and not the WORD. Really great words to use practice with “no”, “yeah”, “thank you”, and “hey”. Here is an example so you can see what I mean!

If your students need more help understanding and practicing tone of voice, be sure and check out this awesome resource!
Activities for Teaching Eye Contact:
So, this is a tricky topic because a lot of people have mixed feelings about “forcing/guilting” an individual with Autism to make contact with others. I am NOT here to comment on that debate. What I am recommending, is that we teach our students with Autism the FUNCTION of eye contact as it relates to nonverbal communication. Even if they choose to not use eye contact for themselves, it will help them be a more proficient nonverbal communicator. If they are able to READ eye contact and if they are able to understand WHY people keep reminding them to “look at the person”, it will help them exponentially!
There you go friends. I know it was a lot, but that is how to teach nonverbal communication.
If you were paying attention, you probably noticed I talked a lot about introducing new topics with reading passages. If creating all those passages from scratch sounds overwhelming, I have some good news for you, I have already created them!
Not only have I already created the reading passages, I’ve also created many of the other activities I described today. I actually have even created some bonus activities I DIDN’T describe today.
Where can you find them? In my TpT store! Click the image below and it will take you there!
If you have been hunting for activities to help you teach other social communication skills, be sure and check out this page! It has all of my best tips to help you be the most efficient and strategic version of your SLP self.
Looking for social skills resources for younger kiddos? Be sure and check out the book Devon Makes a Friend on Amazon, written by yours truly!
One Response
Excellent job